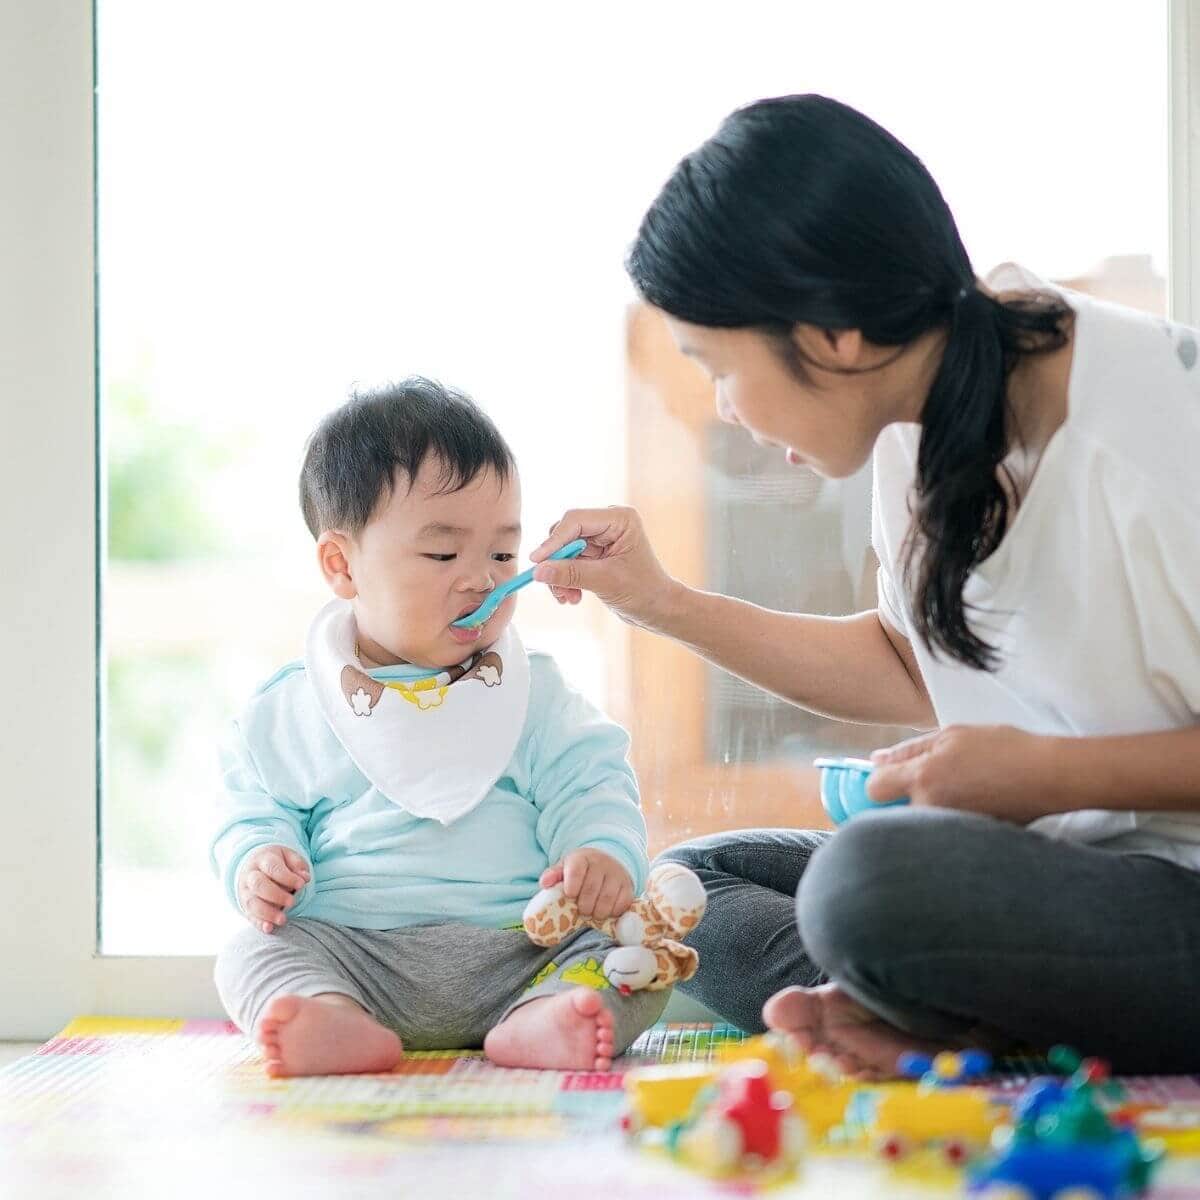
When your baby is first born, their lives consist of a continual cycle of sleeping, eating, and pooping. The simplicity of their days, along with a heavy dose of sleep deprivation and mom overwhelm, makes it unlikely you’ll be doing heavy-duty decision-making regarding your parenting routine, including whether or not you’ll be up late googling things like how to make baby food.
Your days will revolve around repetitive actions. Change the diapers. Rock them to sleep. Give them breast milk or formula.
That’s about it.
But as they begin to grow, you’ll be forced to think outside the newborn baby bubble.
You’ll need to make choices about things, such as babywearing, sleep training, and, eventually, solid foods.
While the American Academy of Pediatrics doesn’t suggest giving breastfed babies solids until six months, waiting until then might not work for your baby or family. In that case, you’ll need to decide what type of baby food is right for your unique situation.
For example, you’ll need to decide whether you’d like to pursue the homemade baby food path.
If making your own baby food sounds appealing, you’re probably looking for things like recipes, storage tips, and more.
Above everything else, though, you’re probably wondering how to make baby food in the first place.
Do you want a helpful hint?
It’s easier than you might expect!
Using a combination of personal experience, community suggestions, and expert advice, we’ve put together the ultimate “how to make baby food” guide that’s sure to help you feed your baby the right way.
This site contains affiliate links, meaning that we earn a small commission for purchases made through our site. We only recommend products we personally use, love, or have thoroughly vetted.
The Top 5 Benefits of Homemade Baby Food
I’m going to be completely honest – the first time I heard of moms making their own homemade baby food, I thought it was one of those things women do to proclaim themselves as one of “those moms.”
You know the ones who raise perfect children in perfect homes while working on their perfect mom bodies.
I thought to myself, “Give me a break – I was raised on store-bought baby food and turned out alright (well, mostly alright!)”.
Little did I know, there are several beneficial reasons so many moms today are putting in the extra effort to learn how to make baby food at home. Here are the top five reasons you might want to consider the process:
1. It’s Cheaper
Even if you buy the most organic, pure produce known to man, you’re still going to be paying less for homemade baby food than you will for store-bought.
For example, if you buy pre-packaged organic baby food, you can expect to pay around $0.69 a serving. Comparatively, if you make the same type of organic baby food yourself, you’ll be paying approximately $0.38 per serving.
2. Better Ingredients
When you buy pre-packaged baby food, there’s no telling where the produce and ingredients used are coming from (unless you shop strictly organic.) Sadly, there’s no way of telling what type of dangerous additives your baby could ingest because of this, such as heavy metals and pesticides.
Once you learn how to make baby food on your own, you’ll have complete control over what goes into everything your baby eats. You can shop from trusted farms and produce stands to buy high-quality organic ingredients.
3. Varied Textures
Have you ever noticed that store-bought baby food always has the same consistency – 100% smooth with zero texture?
While this might be good for babies that are first learning how to eat solids, the lack of variation can get old quickly. It can also make it harder to transition your little one into other textures later on.
When serving homemade baby food most of the purees you make will have different texture types, which is great for transitioning baby to other textures and foods later on.
4. Avoid Ingredients that Cause Allergic Reactions
Have you noticed that green beans don’t sit well with your little one? Are they allergic to soy, milk, or eggs? By making homemade baby food, you can ensure that your little one isn’t getting particular ingredients they may have adverse reactions to.
5. Better Flavor Profiles
When you weren’t talking about choosing a baby name or checking things off your list of baby registry must-haves at your baby shower, there’s a good chance you might have played the famous baby shower game where you do a blind taste test of baby foods.
What’s the one lesson many of us have learned from playing this game?
Most store-bought baby food is disgusting!
It has zero natural flavors and tastes like a watered-down version of whatever fruits and vegetables it’s supposed to be.
When it comes to homemade baby food, you have more room to play. You can add in certain seasonings, herbs, and spices that your family enjoys to get your baby used to various flavors.
Just be sure to introduce ingredients one at a time, including any herbs and seasonings. When you add something new to their baby food, try it for three to five days to check for any allergies.
Stage 1 Baby Food and Beyond: What Do Those Labels Mean?
You’ve probably seen phrases like Stage 1 baby food on various products and parenting sites, but what do labels like these actually mean?
Plus, how do you know when your little one is ready to move from one stage to the next?
Luckily, the Children’s Hospital of Philadelphia has broken down the most common baby food stages:
- Stage 1 Baby Food: Usually served to babies between 4 and 6 months old. This stage includes liquified purres that should be given one to two tablespoons at a time.
- Stage 2 Baby Food: Normally served to babies between 6 and 9 months old. Stage 2 foods tend to be thicker purees babies can eat in two to four tablespoon increments.
- Stage 3 Baby Food: Often served to babies between 10 and 12 months old (sometimes sooner.) You can begin to replace traditional purees with soft, chewable chunks of food or finger foods they can easily pick up and feed themselves with.
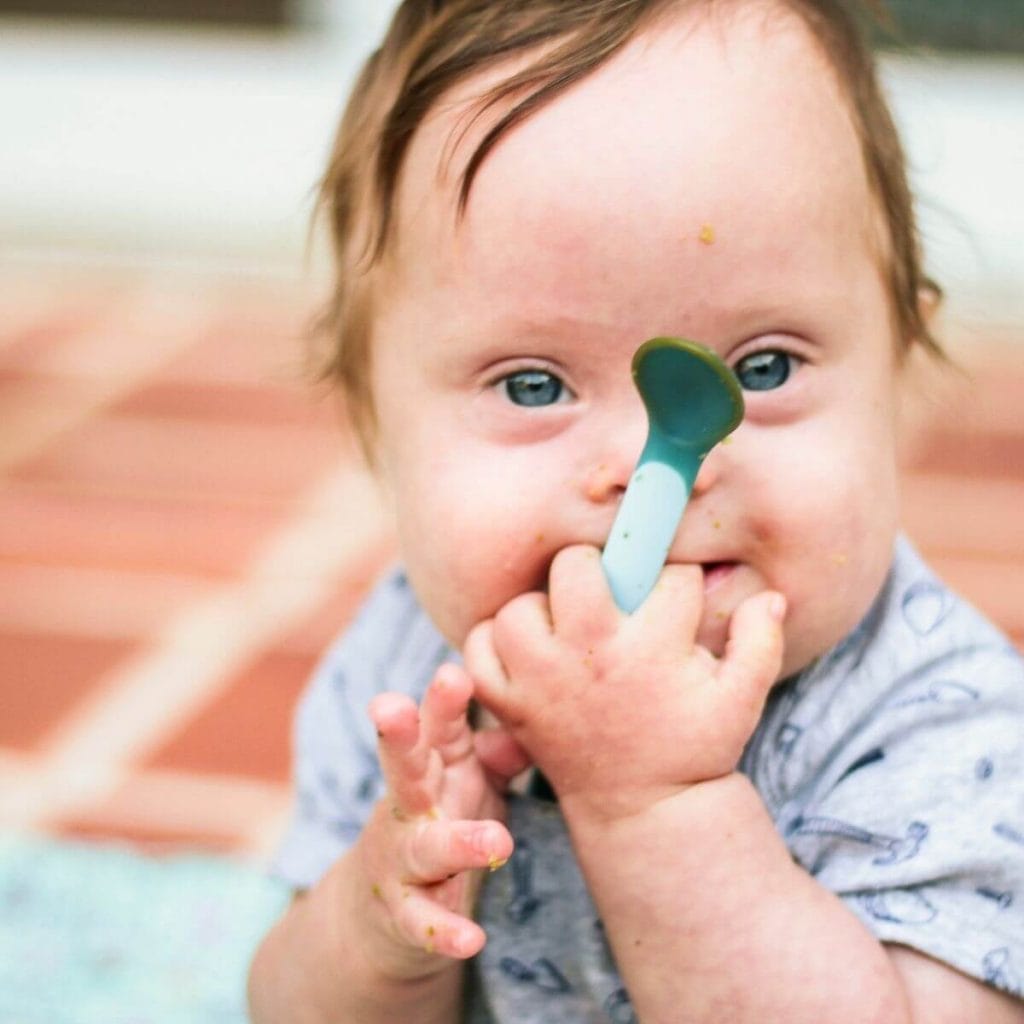
How to Make Baby Food (Made Easy!)
Now that you understand the benefits of homemade baby food, it’s time to start talking about the main event – how to make baby food!
We’ve created several different sections to help you figure out the process one step at a time.
1. Equipment You’ll Need
Other than the actual ingredients you choose for your homemade baby food, you won’t need much else in the way of equipment. Our top recommendations include:
- A food processor or baby food blender
- I personally purchased a regular Bullet processor instead of the baby version. That way, we could continue using it for other things once our little ones were out of the puree stage.
- Food strainer and masher
- Food masher set
- This is great for already soft foods, like avocado.
- Ice cube trays or homemade baby food storage containers
If you’re interested in a more advanced all-in-one baby food making system that steams and blends produce, many parents like this baby food maker from EVLA’s.
2. Preparing Your Ingredients
Once you’ve cleaned your workstation and thoroughly washed your hands with soap and water (don’t forget to sing Happy Birthday two times!), it’s time to prep your ingredients.
If you’re using various oats, rice, or grains, cook them based on the package instructions.
For produce, you’ll want to wash them thoroughly first. From there, if you’re dealing with hard foods, such t as sweet potatoes, apples, or carrots, you can roast, steam, or boil them. For softer foods, such as bananas, you’ll need to remove peels and/or seeds if they have them.
3. Making Your Homemade Baby Food
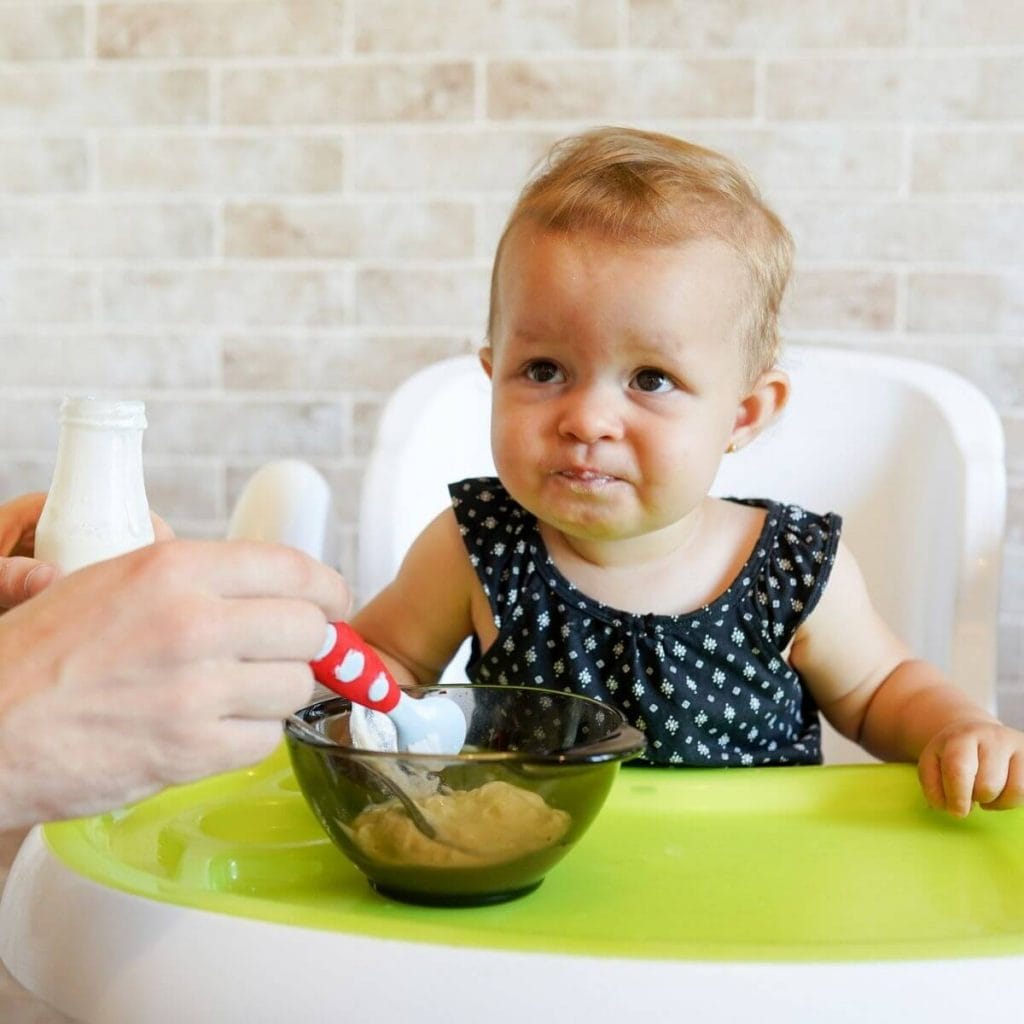
After you’ve finished preparing your ingredients, the baby food-making process can begin. Simply use a strainer, masher, or food processor to puree each item.
You can add formula, breast milk, or water to thin them out if the consistency seems too thick for your little one. It’s okay to have small chunks in your homemade baby food, as long as your fingers can easily smash them.
Once you finish your puree, let it cool down, if necessary, before serving it to your little one or beginning the homemade baby food storage process.
4. Homemade Baby Food Storage
If you’re making big batches of homemade baby food at a time, one of the easiest ways to store it is to make ice cube-sized amounts.
Let your purees cool, and then fill each section of an ice cube tray with the blended mix. Place it in the freezer until it’s hard. From there, pop out each cube and store it in a storage container or Ziploc bag.
Be sure to label each container with the type of food and date before putting it in your freezer.
5. Serving Tips
When you’re ready to use one of your homemade baby food cubes, just take it out and let it thaw before use. You can warm up the food in the microwave, on the stove, or in a smaller bowl that’s submerged in a larger bowl of warm water.
Don’t forget to check the temperature before serving it to your little one! You should heat previously frozen baby food to approximately 165 degrees Fahrenheit.
Is There Still a Way to Use Baby Food Pouches?
We know what you’re thinking – isn’t there a convenient way to make some sort of homemade baby food pouches? We don’t blame your curiosity. After all, I’m pretty sure those baby food pouches are one of the best and most convenient inventions of all time.
You’ll be happy to hear that you can still serve homemade baby food in pouch form!
If this is something you’re interested in, add a product like the Infantino Squeeze Station to your “How to make baby food” equipment list. This will let you reap the benefits of making your own baby food and still allow you to use handy homemade baby food pouches.
Homemade Baby Food Recipes: 6 to 8 Months
Once your little ones hit their six month birthday, it’s time to start introducing them to the wide world of solid foods. While baby oatmeal and rice cereal are always great places to start, they don’t provide a lot of flavor exposure.
So, as you’re figuring out how to make baby food, why not consider these baby food ideas for little ones between 6 to 8 months?
To start, you might want to try simple purees that include one ingredient at a time. The best options for new eaters include:
- Smashed Avocado
- Pureed Sweet Potato
- Smashed Banana
- Unsweetened Apple Sauce
- Mashed Potatoes
- Pureed Butternut Squash
- Pureed Carrots
- Pureed Green Peas
Once you’ve introduced a good selection of ingredients, you can begin making combinations. Some favorites in our household included:
- Peas and Carrots
- Sweet Potato and Apples
- Butternut Squash and Carrots
- Avocado and Banana
- Blueberries and Banana
- Broccoli and Sweet Potato
And don’t forget, you can also add in simple herbs, such as thyme, cinnamon, or basil, to accent your combinations. Just steer clear of things like salt and butter.
What Foods Should You Avoid for Your Baby?
While the world is your oyster in terms of exposing your baby to different types of homemade baby food, it’s essential to realize that certain ingredients aren’t good for little ones or can be choking hazards.
Stay away from things like:
- Sugar
- Honey
- Undercooked Eggs
- Hot Dogs
- Popcorn
- Hard Candy
- Marshmallows
- Nuts
- Peanut Butter
- Dried Fruits
- Uncut Grapes
Learning How to Make Baby Food is as Easy as 1,2,3!
So there you have it; while making homemade baby food might seem like a challenge, it’s much simpler than you’d think. All it takes is a little time, planning, and a few pieces of equipment to make your baby the healthy, beneficial food you’ve been hoping for.
Have you ever considered learning how to make baby food? Do you feel ready to give it a try?